i made a ring!
Not a webring - maybe some day - but an even cooler one!
My wife and I went to the jewelry workshop our friends gifted us for our wedding last year. I had a moonstone at home I wanted to turn into a ring (yes, I do love big chunky gems as rings, as you might have already guessed from other pics of my hands, especially the aura quartz on my thumb), and she spontaneously made a necklace with a Cthulhu game symbol on it (Protection from Elder Gods).
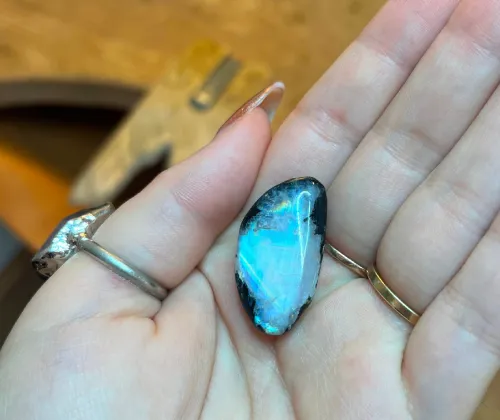
This is the loose stone. I bought that one together with a few others in 2019 in a display case, but soon that display case kinda feel apart (honestly paid way too much for it) so they are now loose in my other gem collection. This one was nicely vertical and so good for a chunky ring. If you are unfamiliar with moonstones, they are comparable to labradorites in the sense that tilting them around in light produces amazing color.
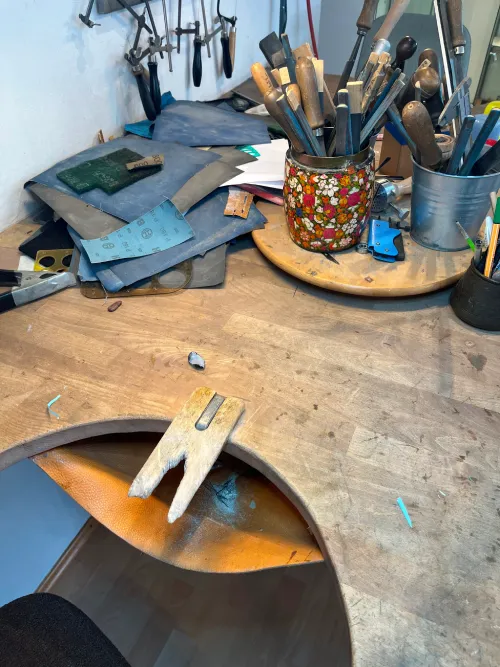
This was the workstation:
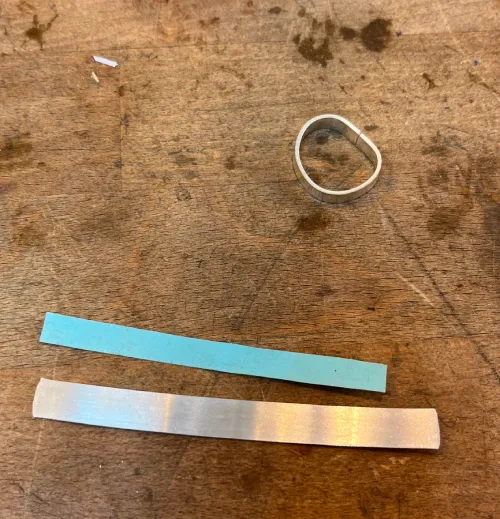
First step was to decide how thick the ring band was supposed to be, both the actual material thickness and how wide it's supposed to be. Then in a second step, what ring size, and how long the band needs to be. I wanted to comfortably wear it on my middle finger and possibly some others. My fingers can swell quite a bit since my months-long stint with Prednisone, so I went with a comfortable 61mm; you can always make it smaller anyway.
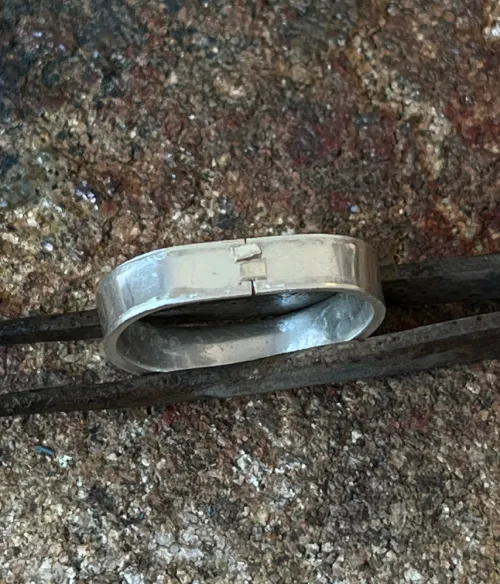
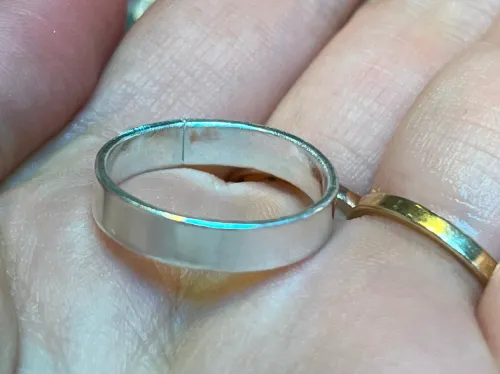
So, cutting and measuring the right length, then slowly twisting the silver and aligning the ends so that they are really tight, tensing and pushing against each other. Was harder than I thought. It didn't need to be perfectly round yet, just aligned. Then it gets fired up with two pieces of silver to weld it all together.
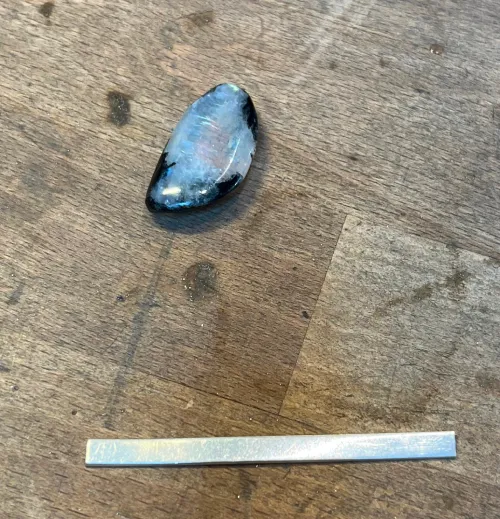
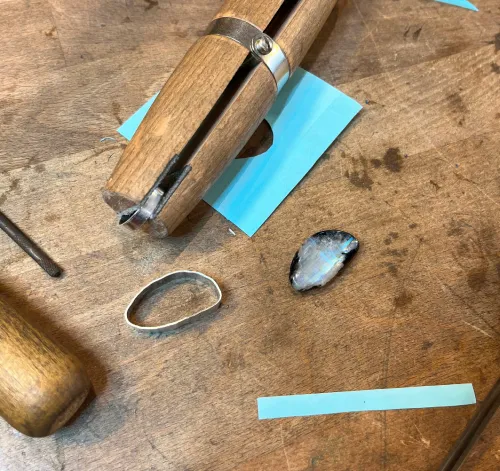
Next step was measuring around the stone to know how long the metal actually surrounding and holding the stone needs to be (the bezel). First used a paper strip, then used that to measure some silver, and twisted it through a machine to make it thinner and longer.
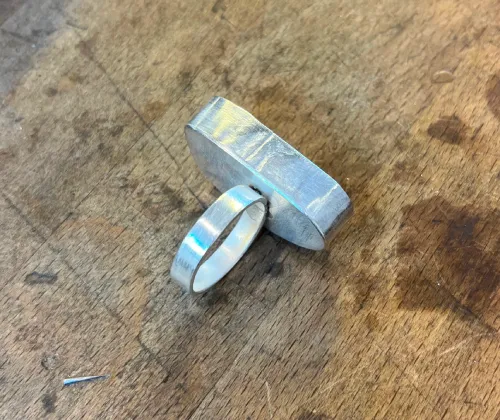
Later, I hammered the ring into shape and polished the edges:
The seam could be nicer, but to be fair, you don't see it now as that is where the stone is put on top of.
Now I had to bend the bezel piece into the shape of the stone. That was by far the worst, and I just couldn't manage it on my own; when I had one part aligning correctly with the stone, the other would be bent out of shape again. And the second I lifted the stone away from the silver, I forgot what I needed to adjust again and how much. My wife had to help me with that.
Now that piece needs a bottom. (don't we all)
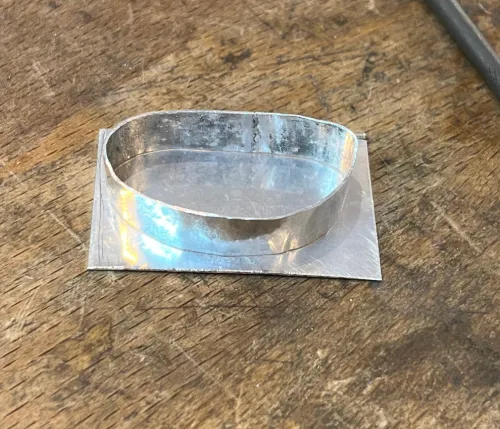
It gets put on a silver sheet, welded together, and then you cut the extra off and spend a fuckton of time sanding down the edges.
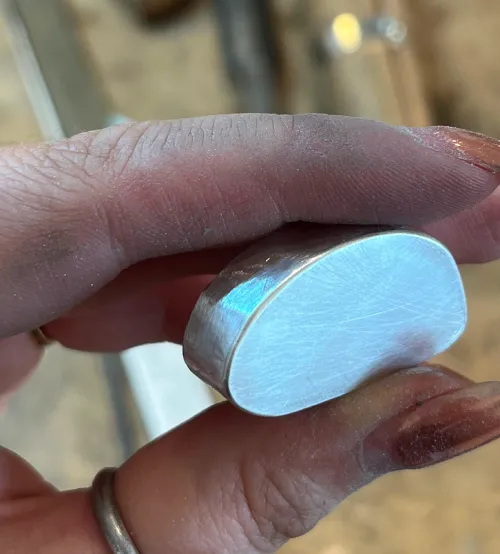
Excuse the hands, this stuff is rough work, and I really should have gotten my nails done by now.
The ring gets sanded down where the seam is so there is a flat surface that the bezel fits onto. Gets welded together again with a few pieces of silver.
Next step is sanding down the top edges and if needed, shortening the bezel a little so not too much gets covered, then getting the stone in. Finally, you use a hammer and a thin chisel-like thing to collapse the bezel walls onto the stone so it is kept in place.
Final result:
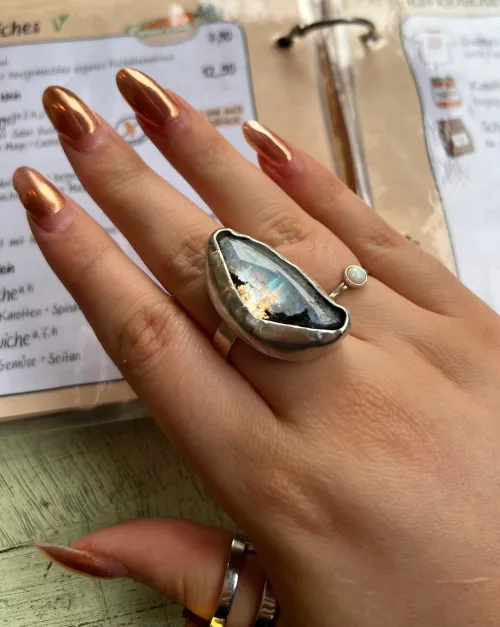
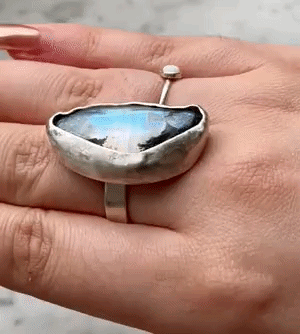
Definitely not a ring for daily wear, but can be nice as a statement piece. :)
You might notice that this isn't the side of the stone that was showing in all the other pictures. That is because we welded the bezel bottom onto the wrong side and didn't notice for far too long. But it's fine, because the other side works too, phew.
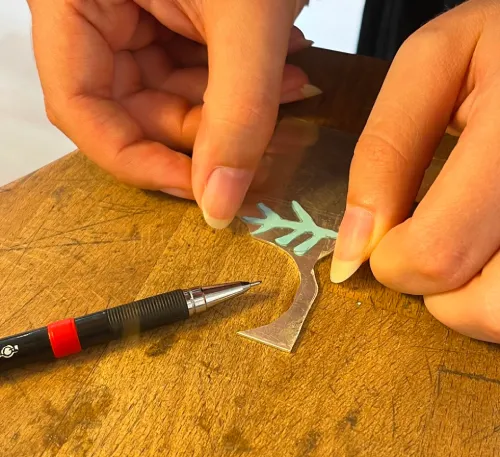
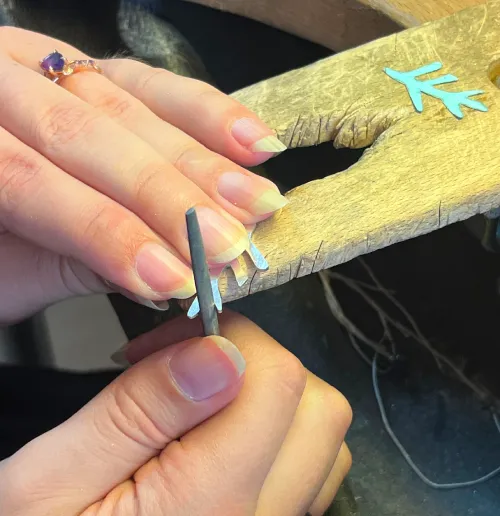
Here's some progress shots of what my wife made:
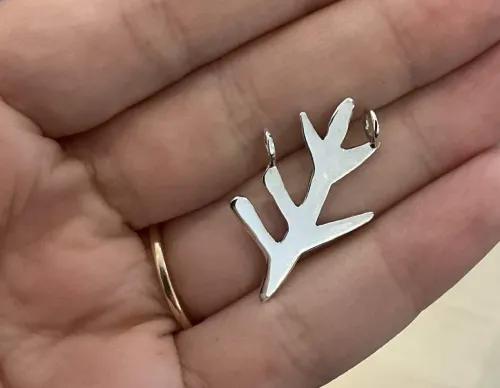
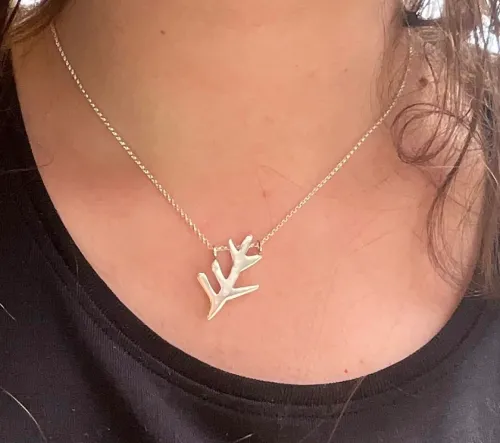
And the final result:
All in all, I'm glad we did that, and very thankful to our friends who made it possible! But I suck really badly at this, was close to tears multiple times, and I am glad it is over and we both got something we like out of it.
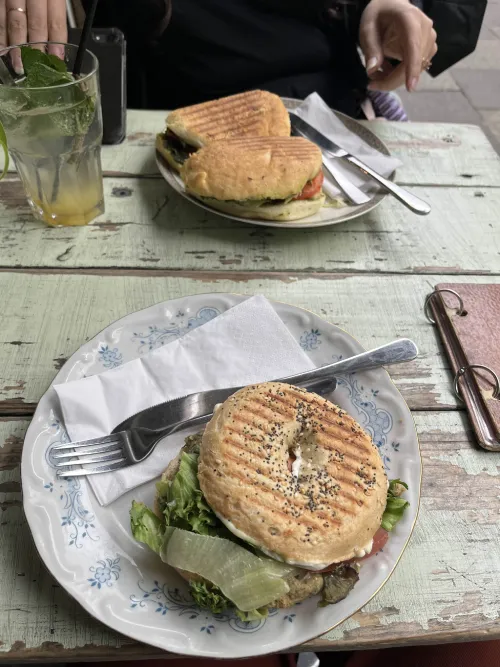
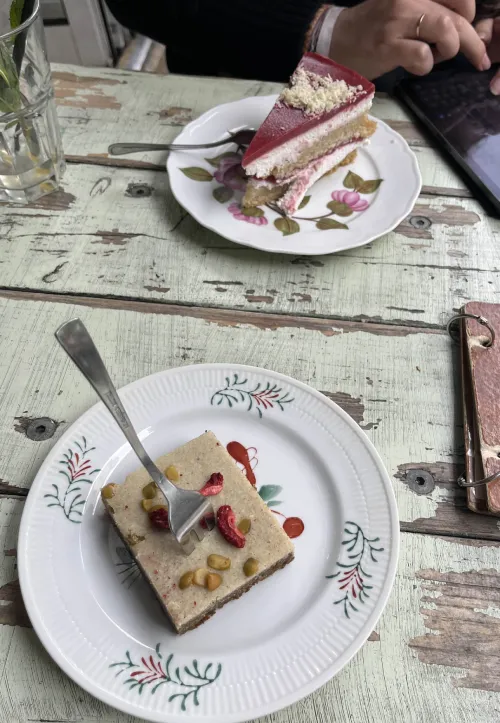
We ended the trip with a visit to a cafe.


Reply via email
Published